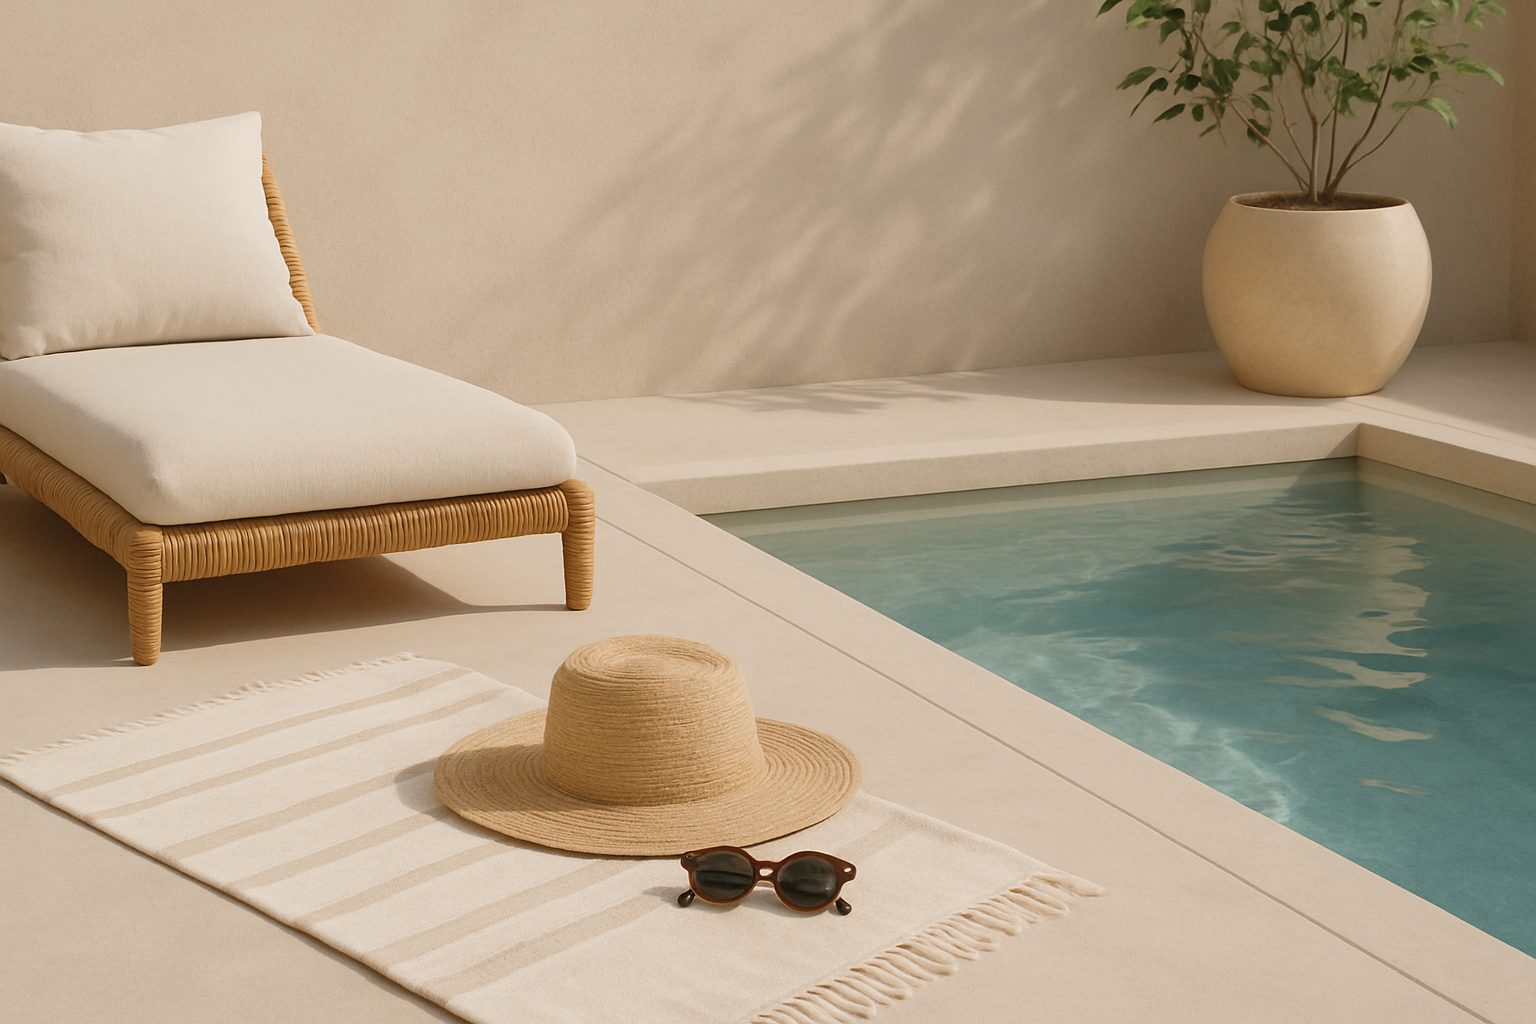
How to Install a Plunge Pool in a Small UK Garden: Step-by-Step
Installing a plunge pool in a compact garden is entirely feasible—you don't need a sprawling estate or professional contractors. Most above-ground models are designed for DIY setup, though success depends on careful site prep, proper earthing, and understanding your drainage situation. This guide walks you through the essentials for getting it right the first time.
Assessing Your Garden Space
Before buying anything, measure your actual available space and check what lies beneath. Plunge pools typically need a 2–3 metre footprint, so you're looking at genuine dedicated area—a small patio won't do.
Check the ground type. Are you on clay, loam, or sandy soil? Take a spade and dig a small hole roughly a metre deep; watch how water behaves. Clay retains moisture (good for stability, tricky for drainage). Sandy soil drains fast (fewer waterlogging issues, but less structural support). Most UK gardens are clay-based, so drainage planning matters from the start.
Look for underground utilities. Call 811 (or Dig Safe in your region) before breaking ground. You don't want to slice through a water main, gas pipe, or electric cable. It's free, takes a few days, and is non-negotiable.
Check your garden's fall and slope. Plunge pools should sit on level or near-level ground. If your garden slopes significantly, you'll need to either terrace the area or accept that one side will be deeper than ideal—this affects structural load and water pressure on pool walls.
Choosing an Above-Ground Model
For small UK gardens, above-ground pools are the practical choice. You're typically looking at:
- Inflatable or removable-frame pools (1.5–2 metres diameter): genuinely portable, easy storage over winter, require minimal site prep. Weight when full is significant (3–5 tonnes), but no digging required.
- Steel-framed pools (2–3 metres): semi-permanent, sturdier, handle UK winters better if properly drained. Require solid, level bases.
- Wooden or composite surrounds: genuinely attractive, support better foot traffic, but cost more and demand better drainage planning.
The size you choose matters. A 1.5-metre pool is comfortable for cold-water immersion; anything larger starts to need serious plumbing and electrical work, particularly if you're heating or filtering.
Preparing the Installation Site
Start by clearing vegetation and removing any sharp objects—roots, stones, broken pottery. You're aiming for a smooth, debris-free base.
For inflatable models, lay landscape fabric directly on the soil, then add 5–8 centimetres of sand (not building sand—use fine landscaping sand). Compact this lightly with a length of wood. This cushions the pool wall and prevents punctures.
For frame pools, the approach is stricter. Level the ground to within 5 centimetres over a 3-metre span. Use a long spirit level or water level to check. You can use levelling compound or remove high spots with a spade. For clay gardens, consider laying a proper foundation: a 10-centimetre base of compacted hardcore or gravel, topped with sand. This prevents subsidence when the pool is full.
Never install on fresh paving or decking. The pool's weight (especially if positioned off-centre) can crack concrete or snap wooden boards.
Installation Steps
- Lay out the footprint. Use a length of rope or chalk to mark where the pool edges will sit. Double-check the diameter matches your pool specs.
- Assemble the frame (if applicable). Follow the manufacturer's instructions exactly. Frame pools have a specific assembly sequence; skipping steps causes instability. Most take 2–4 hours with two people.
- Position the pool liner. For frame pools, the liner drapes inside the frame. For inflatable models, inflate the walls first, then fill gradually. As water rises (5–10 centimetres), it naturally seats the liner. Check for bunching or unevenness.
- Fill progressively. Don't flood the pool in one go. Fill to about 30 centimetres, wait 30 minutes, then continue. This allows the base to settle and the liner to seat properly. Watch for water leakage or base movement.
- Final level check. Once full, check the water surface with a spirit level. If one side is noticeably higher, you've got an installation issue—the pool will stress unevenly and may rupture.
Earthing and Electrical Safety
If you're adding a pump, filter, or heater, electrical safety is critical. UK garden electrics must comply with Building Regulations and be installed on a dedicated circuit with a residual current device (RCD) rated at 30mA.
Earthing the pool itself prevents electrical potential differences in the water. If your pool has metal components (frame, ladder, pump housing), bond these to a proper earth rod driven at least 1.2 metres into the ground. Use 6mm² earth cable. This protects anyone entering the water if there's a fault in connected equipment.
Don't attempt electrical work yourself unless you're qualified. It's worth hiring a Part P registered electrician for this stage—typically £200–400.
Drainage and Water Management
UK plunge pools drain in one of three ways: overflow, pump-out, or sump.
Overflow drainage works if your garden slopes away; excess water simply runs off. Check local planning rules—you can't typically discharge into a neighbour's boundary.
Pump-out suits level gardens. A standard submersible pump (500–1000W) handles this; most pool kits include basic drainage fittings.
Sump pits (a dedicated shallow hole with a sump pump) work well on clay. Dig a pit 1.2 metres away from the pool, roughly 60cm deep, let it collect water, and pump out weekly or as needed.
Never allow pool water to pond directly against your house foundations—this undermines damp-proof courses and can cause subsidence.
Final Checks and First Use
Before full use, run the pool for 24 hours and observe:
- Any water leaks in the base or seams.
- Water clarity and filtration performance.
- Pump and electrical safety (no tripping, no shocks).
- Proper drainage flow if pumping out.
Top up weekly in summer (evaporation runs 3–5 centimetres per week in the UK). Monitor water chemistry if filtering; chlorine or alternative sanitisers prevent bacterial growth.
Above-ground plunge pools are genuinely manageable in small gardens. Careful site prep, honest assessment of drainage, and proper earthing take most of the guesswork out. The reward is a working cold-water immersion tool that fits real UK living space.
More options
- Cold Plunge Pools & Ice Bath Tubs (Amazon UK)
- Inflatable Plunge & Ice Barrel Pools (Amazon UK)
- Pool Water Chillers & Cooling Units (Amazon UK)
- Plunge Pool Covers & Thermal Blankets (Amazon UK)
- Pool Thermometers & Water Test Kits (Amazon UK)